Order Signs in SignStudio Advanced (SSA)
In our online tool, SignStudio Advanced (SSA), you can order any type of sign. Either with text only or with the addition of images and graphics. The tool therefore has two design modes depending on the edits you want to make: Advanced ON or Advanced OFF. This guide will walk you through each step of how to successfully order your signs with us.
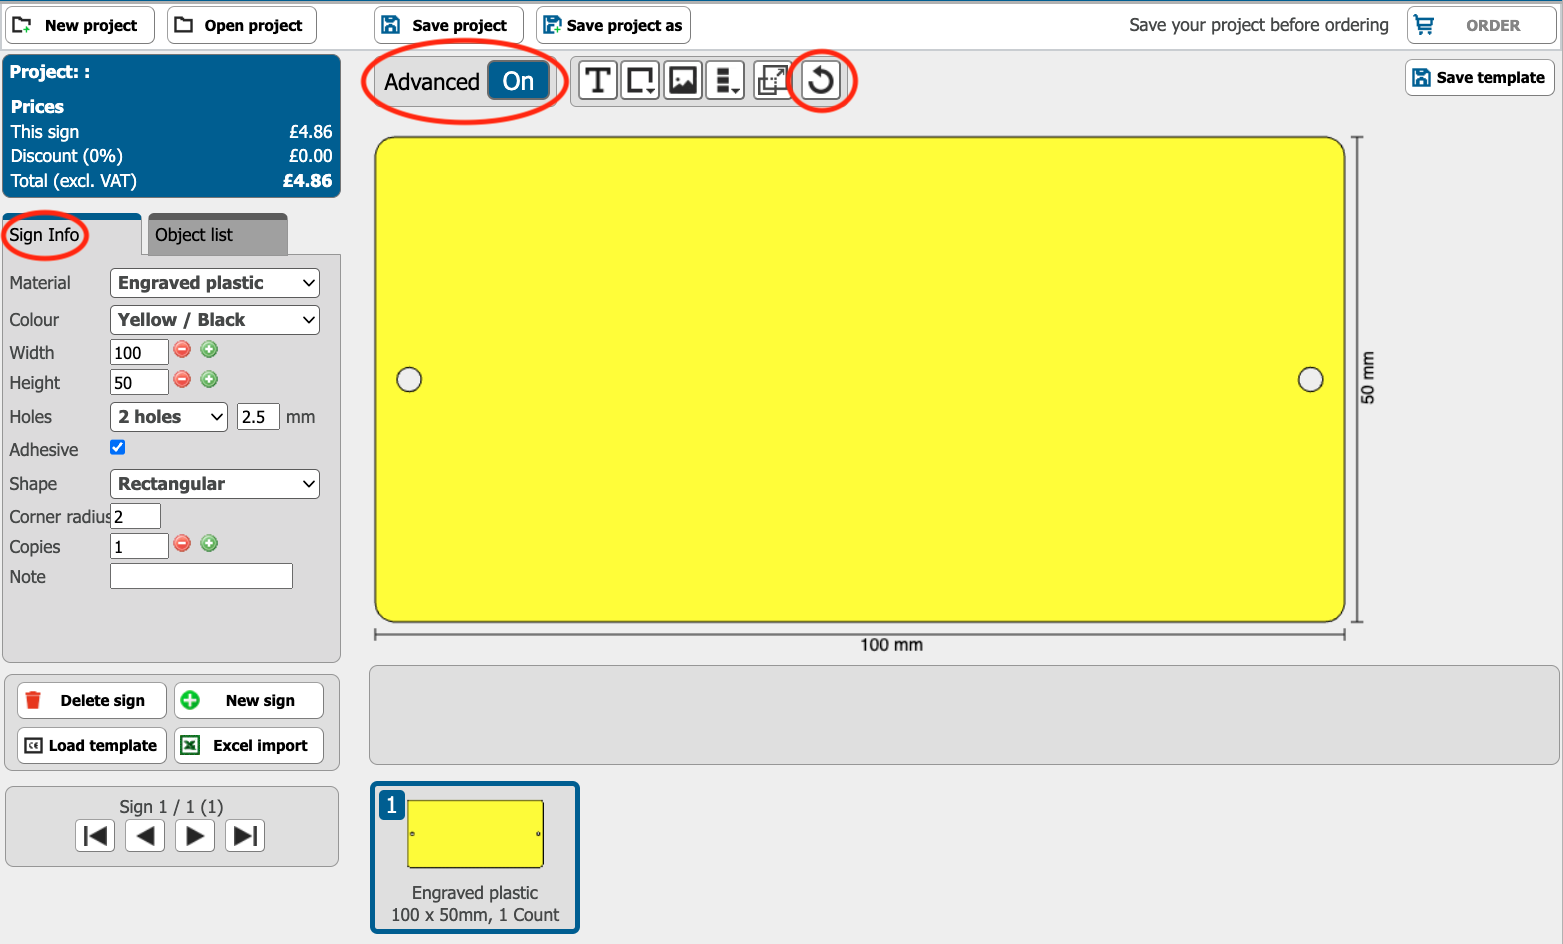
1. Log in and open SSA
Log in (or create an account if you have not already) and click on any Order button from the home page to open SSA. On the left side of the tool, you will find Sign Info where you can change things like material, colour, holes and size. Keep in mind that the measurements are in millimetres.
In the top panel, the Advanced mode should be OFF for basic use, or ON for more options (like working with images and shapes). You can switch modes whenever you want, but some designs may disappear. In this case, use the back arrow in the tool to undo.
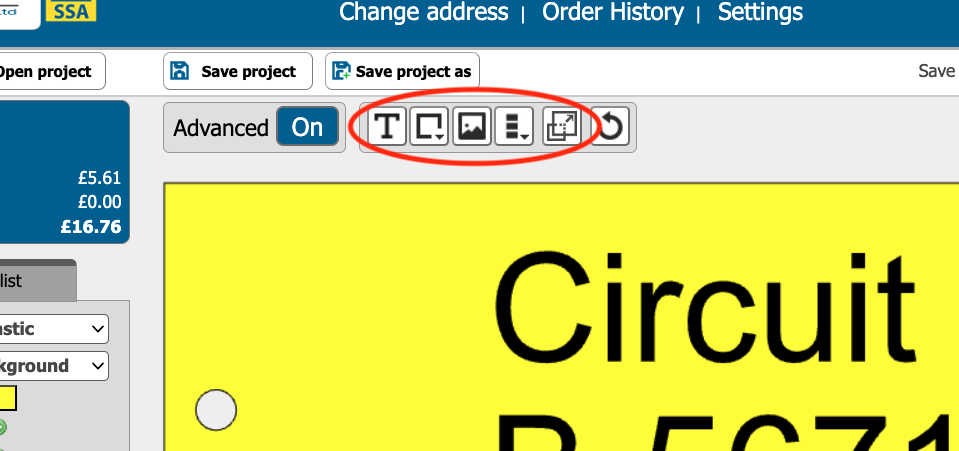
2. Insert and adjust on the sign (Advanced ON)
Add and edit text, QR codes, images and other items directly on the sign. You can move them around freely and there is no limit to how much you can insert or remove. The tool gives you an instant visualisation of what the final product will look like.
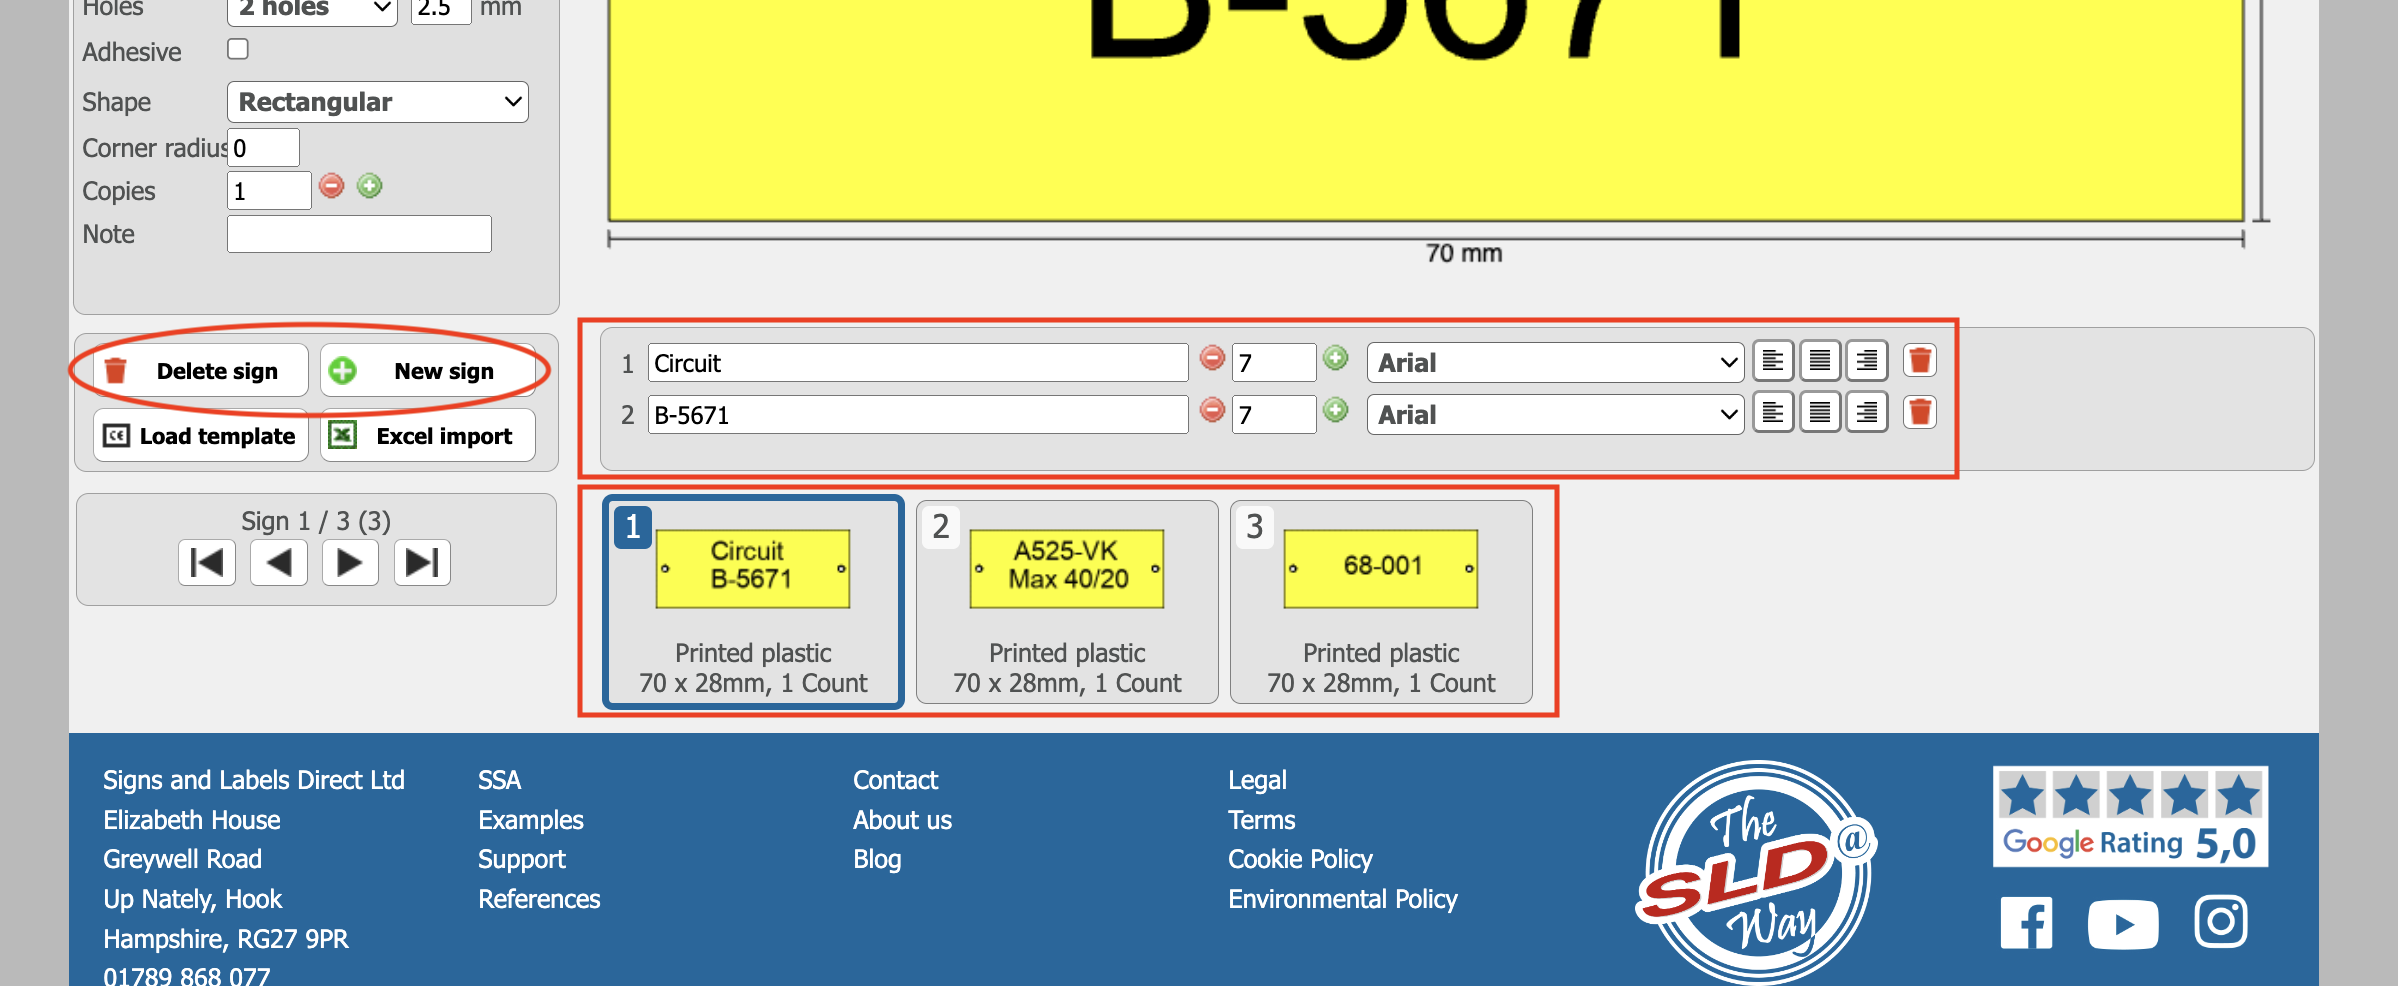
3. Text fields and sign list
Below the sign, you will find all the text fields – one for each text box on the tool. Here you can enter text and change the size and font.
Further down the tool is your sign list, where each numbered box symbolises a different sign in your current project. Click on New sign to add a sign, or on Delete sign to remove a sign.
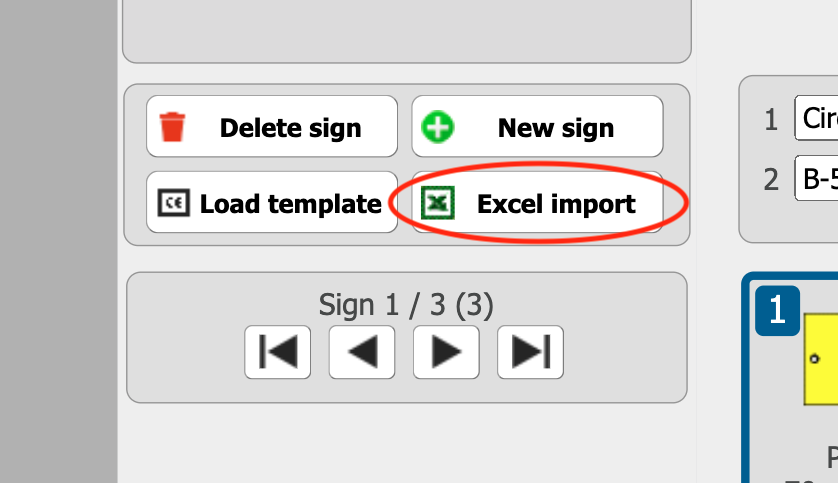
4. Excel import
If you want to generate many signs at once, you can use the Excel import option. Instructions for this can be found in tutorial 2.
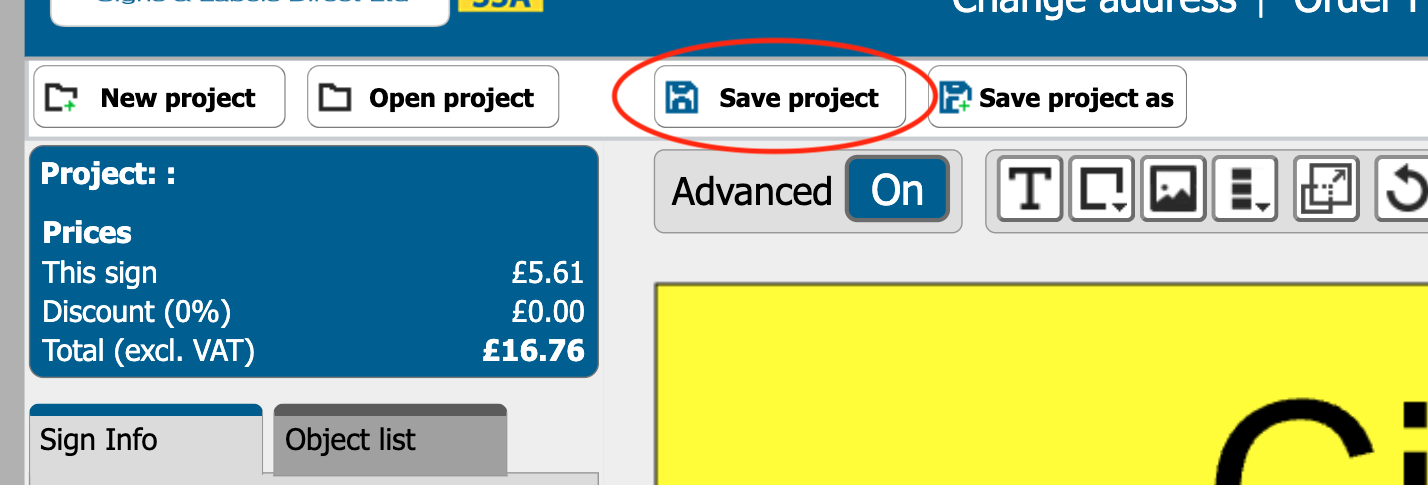
5. Save project
Click on Save project to save your changes and give your order a name. Now you can either return to the project later or proceed to the ordering step.
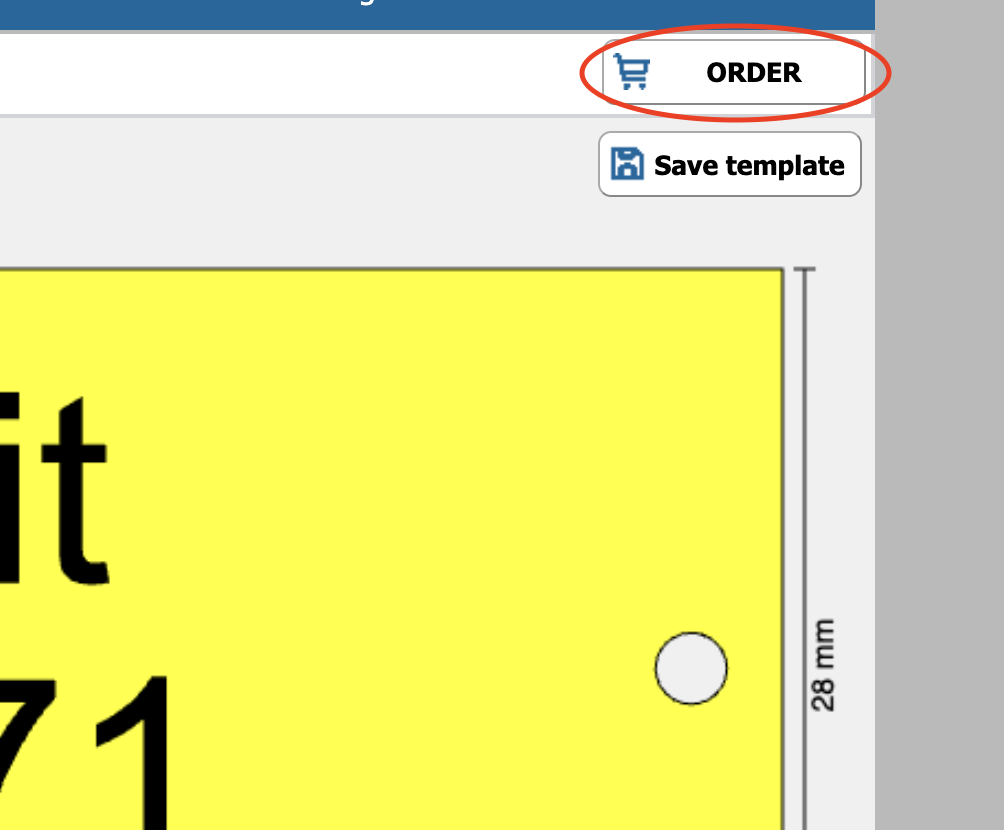
6. How to order
To order: click on Order and then select any accessories you want, if you do not want any, then make sure that all quantities are 0. When you are done, click on Continue with these accessories.
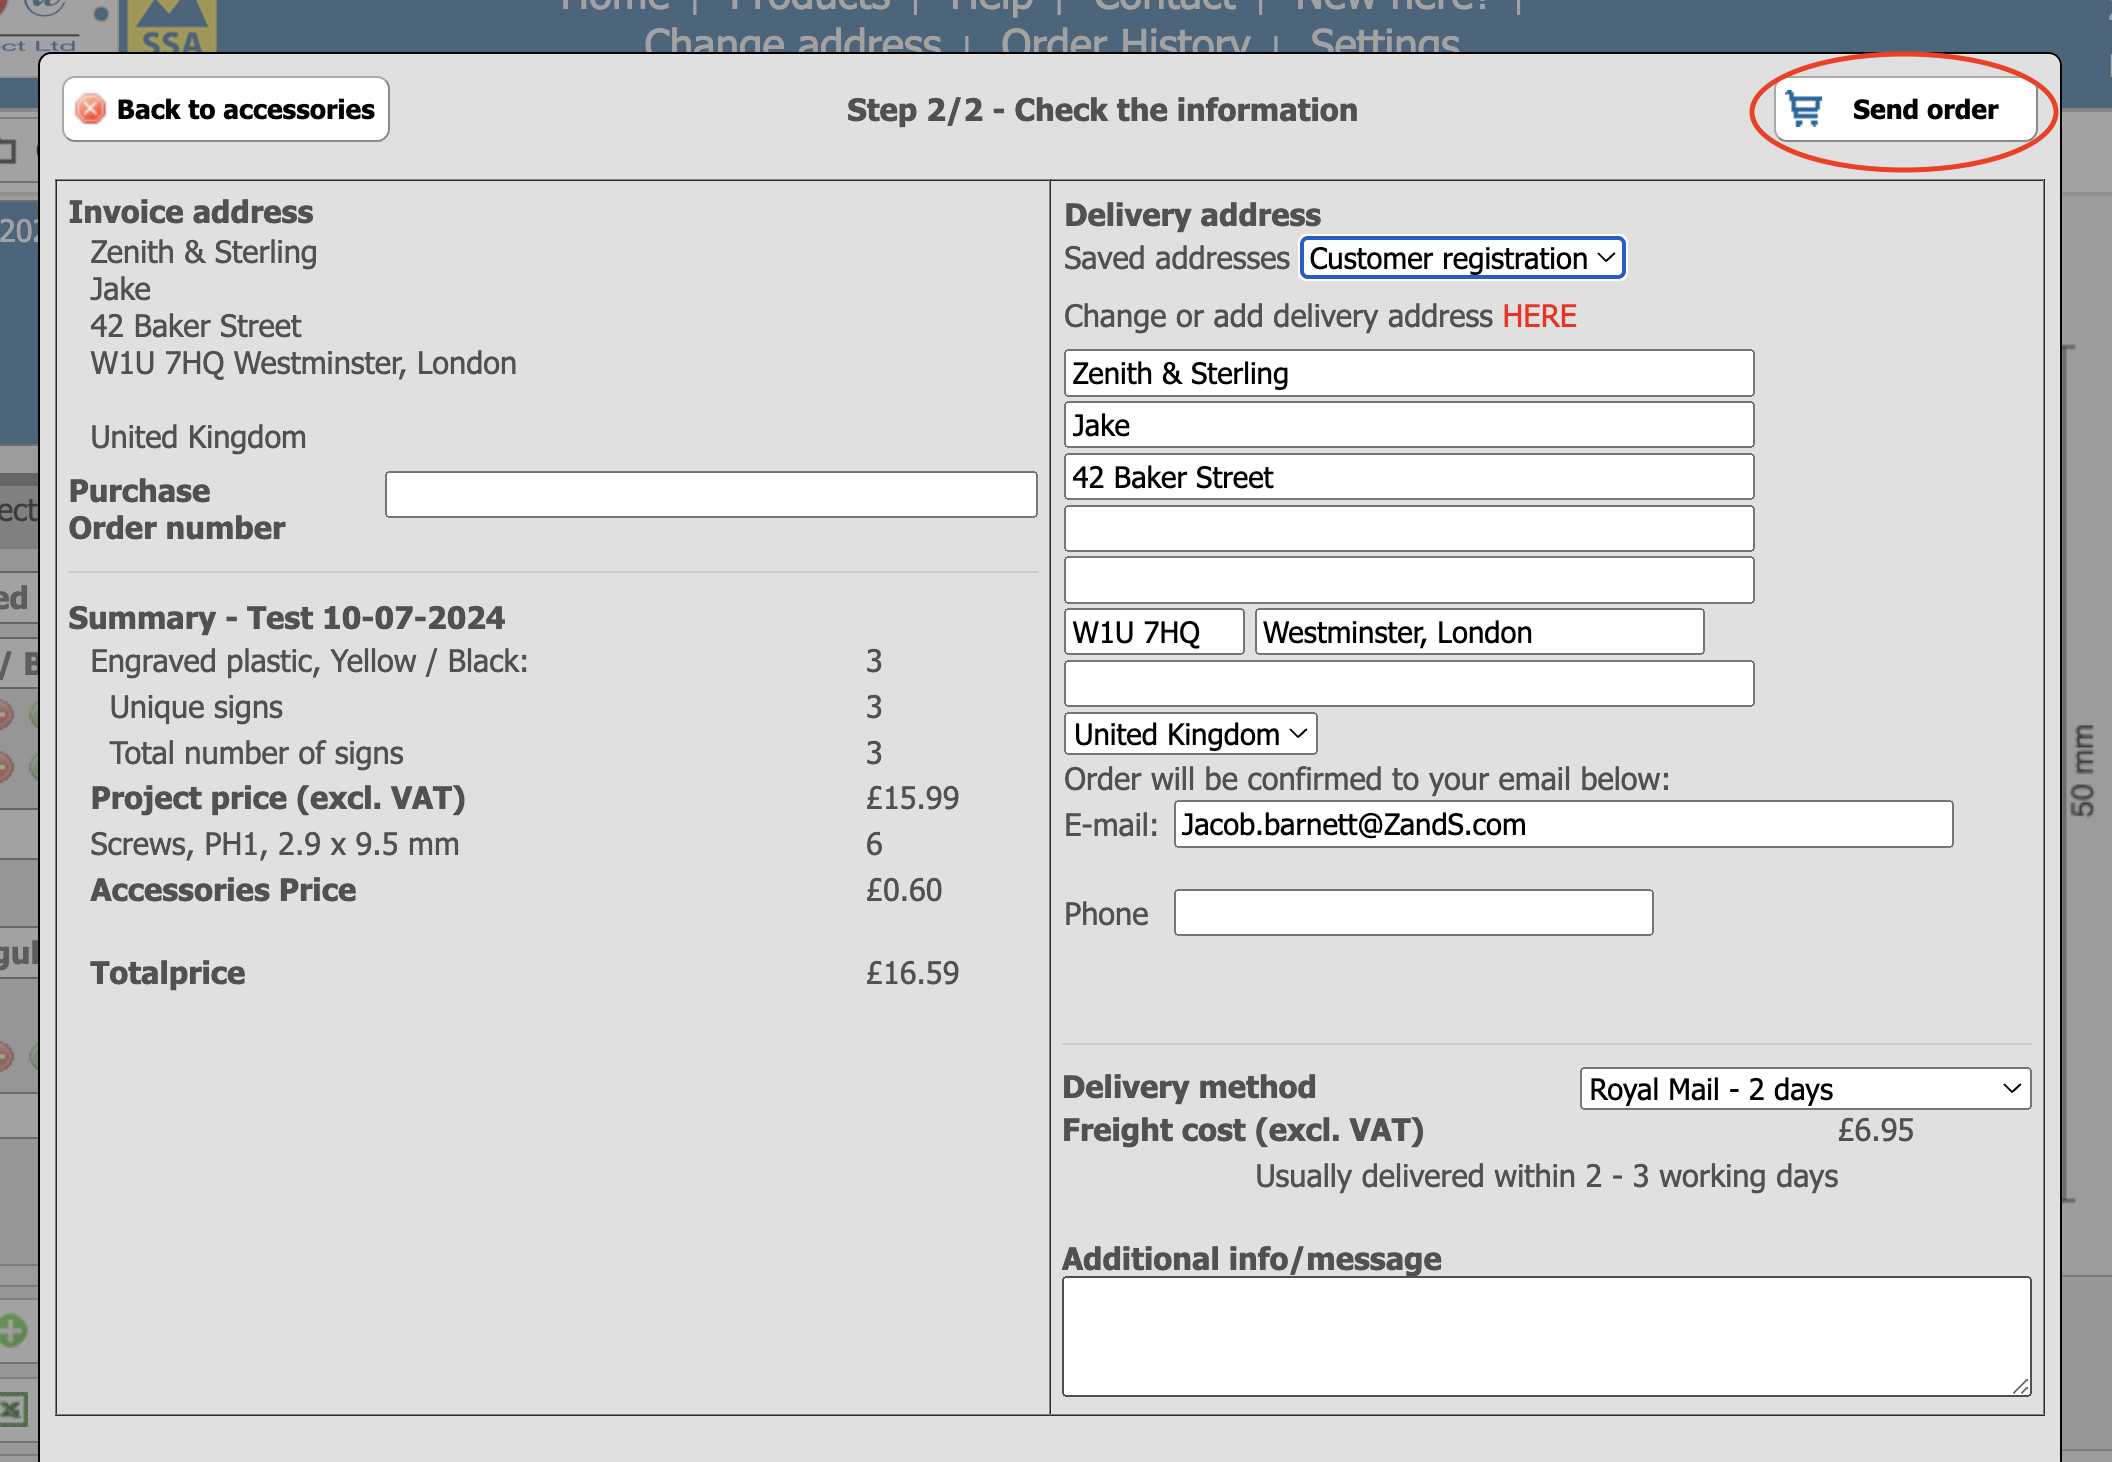
In the next step, review your order, fill in the purchase order number if required and enter your address, contact details and any other information. Then click on Send order to finalise your order.
7. Order confirmation and invoice
We will send you a confirmation email once your order has been received. The signs are typically produced and dispatched on the same day (depending on cut-off time for each material) for next working day delivery, while the invoice is sent separately within two weeks.
Tip!
You can save templates for future use in other projects by clicking on Save template (under the Order button when nothing is selected).